DIY Soy Wax Candles: Create Customized Candles
DIY Soy Wax Candles: Create Customized Candles
Soy wax candles have become increasingly popular in recent years, and for good reason. Not only are they eco-friendly and sustainable, but they also burn cleaner and longer than traditional paraffin wax candles. Soy wax is made from soybeans, which are a renewable resource and biodegradable. This makes it an excellent choice for anyone who is environmentally conscious or looking for a more natural alternative to traditional candles.
One of the main benefits of using soy wax is that it burns cleaner than paraffin wax. Paraffin wax is derived from petroleum, which means that it can release harmful chemicals into the air when burned. Soy wax, on the other hand, is a natural and non-toxic alternative that does not produce harmful byproducts when burned. This makes it a great option for anyone with allergies or sensitivities to artificial fragrances or chemicals.
In addition to being eco-friendly and non-toxic, soy wax is also a great choice for DIY candle-making. It is easy to work with and can be customized in a variety of ways. To get started with making your own soy wax candles, you will need a few basic supplies. These include soy wax flakes, a double boiler or melting pot, a thermometer, candle wicks, fragrance oils or essential oils, and candle jars or containers.
When choosing your soy wax flakes, it is important to look for high-quality, 100% soy wax. Some brands may mix soy wax with other waxes or additives, which can affect the quality of your candles. It is also important to choose the right size wick for your candle jar or container, as this will affect how well your candle burns. A thermometer is also essential for ensuring that your wax is heated to the correct temperature and does not overheat or burn.


Step-by-Step Guide to Making Soy Wax Candles
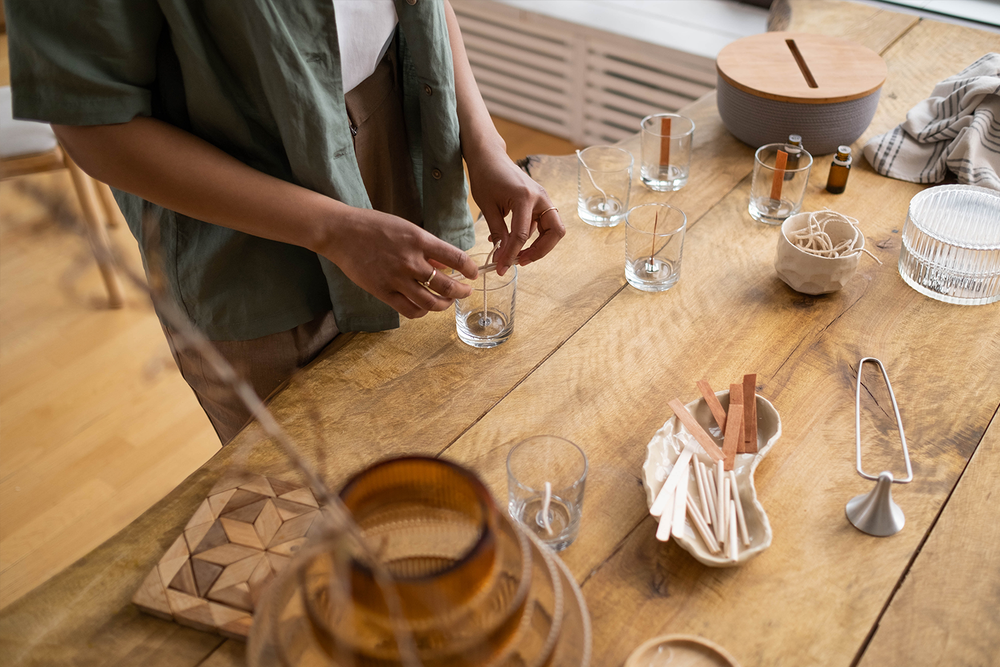
Making soy wax candles is a fun and rewarding DIY project that anyone can do. With just a few supplies, you can create beautiful, customized candles that are perfect for any occasion. In this step-by-step guide, we'll walk you through the process of making soy wax candles from start to finish.
Preparing the Supplies
Before you begin making your soy wax candles, it's important to gather all of the necessary supplies. Here's what you'll need:
-
Soy wax flakes
-
Candle wicks
-
Fragrance oils or essential oils (optional)
-
Candle dye (optional)
-
Heat-resistant container
-
Double boiler or a metal pouring pitcher and saucepan
-
Thermometer
-
Stirring utensil (such as a wooden spoon)
It's important to use high-quality supplies when making soy wax candles to ensure that your finished product is safe and long-lasting. Look for 100% natural soy wax flakes and high-quality candle wicks for best results.
Melting the Soy Wax
The first step in making soy wax candles is melting the soy wax flakes. To do this, you'll need to use a double boiler or a metal pouring pitcher and saucepan.
Fill the bottom of your double boiler or saucepan with water and place it on medium heat. Add your soy wax flakes to the top pot or pouring pitcher and stir occasionally until they are completely melted. Use a thermometer to monitor the temperature of the wax - it should be heated to around 180°F (82°C) before adding fragrance or color.
Be sure not to overheat your wax as this can cause discoloration or other issues with your finished candle.
Adding Fragrance and Color
Once your soy wax is melted and at the correct temperature, it's time to add fragrance and color if desired. You can use fragrance oils or essential oils for scenting your candle, but be sure not to add too much as this can affect the quality of your candle.
To add color, use candle dye chips or liquid dye specifically made for candle-making. Start with a small amount of dye - you can always add more later if needed.
Stir in your fragrance oil or essential oil and color until fully combined with the melted soy wax.
Pouring the Wax
Now that your fragranced and colored soy wax is ready, it's time to pour it into your heat-resistant container with pre-waxed wick attached. Make sure that your container is clean and dry before pouring in the hot wax.
Slowly pour in the hot wax until it reaches about 1/4 inch below the top of the container. Be careful not to pour too quickly as this can cause air bubbles in your finished candle.
After pouring, allow your candle to cool completely - this will take several hours depending on how large your candle is.
Finishing Your Candle
Once your soy wax candle has cooled completely, it's time to trim the wick and clean up any excess debris around the edges of the container. Trim the wick so that it is about 1/4 inch above the surface of the cooled candle - this will help prevent smoking when you light it.
You can also decorate your finished candle by adding labels or ribbon around its base for an added touch of customization.
With these simple steps, you've now created a beautiful custom-made soy wax candle that you can enjoy yourself or give as a thoughtful gift!

Tips for Customizing Your Soy Wax Candles
Customizing your soy wax candles is the perfect way to make them unique and personalized. There are several ways to do this, from choosing the right container to adding decorative elements and creating custom labels.
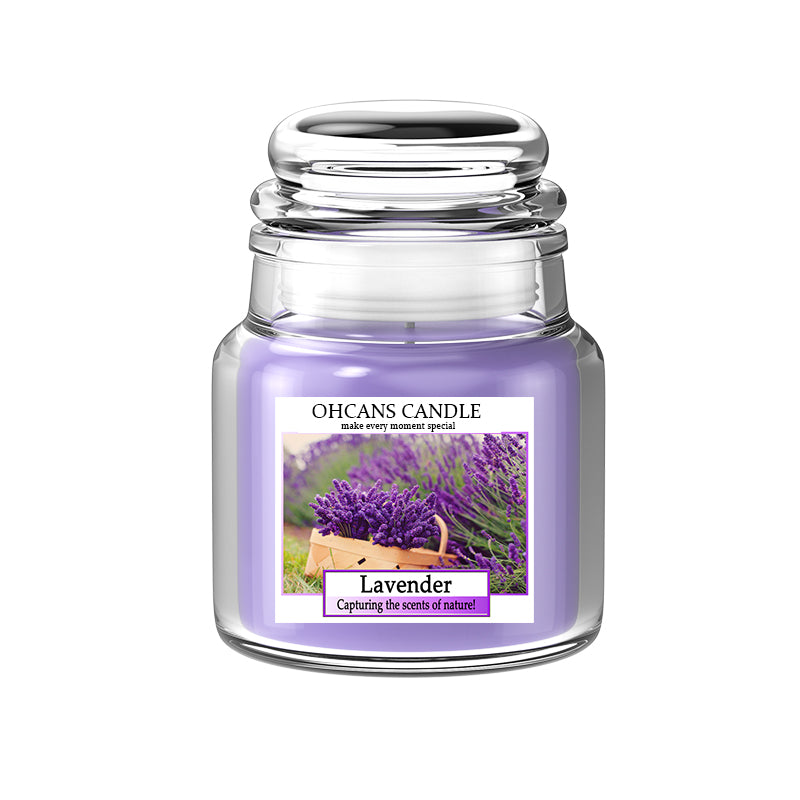
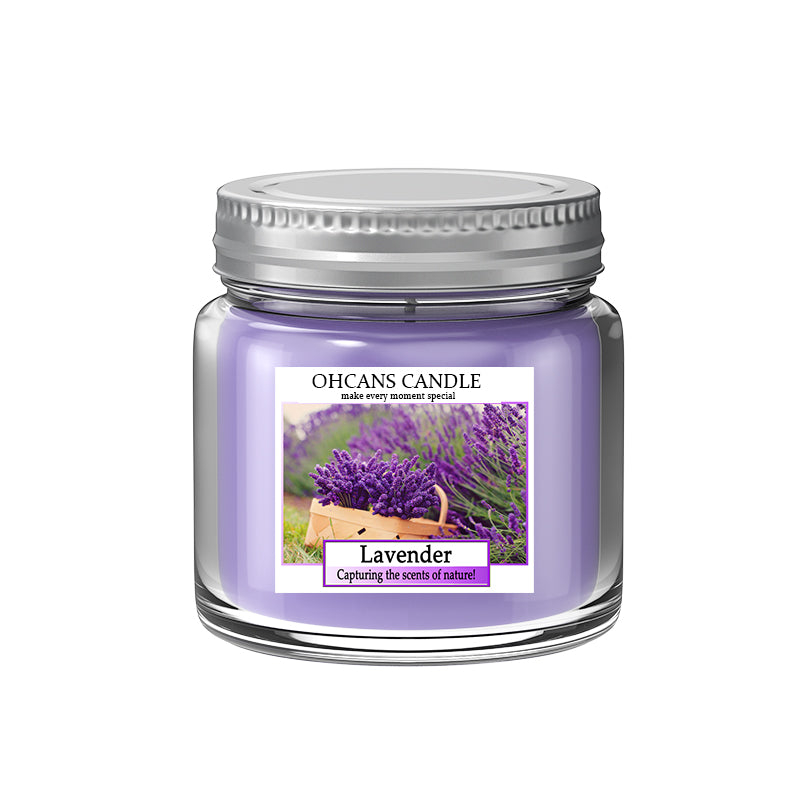
One of the most important aspects of customization is choosing the right container for your candle. The container you choose will not only affect the appearance of your candle but also its burn time and scent throw. Glass jars are a popular choice as they allow you to see the color of your wax and can be reused once the candle has burned down. However, if you want a more rustic or natural look, you can use tin cans or ceramic pots instead.
Another way to customize your soy wax candles is by using unique fragrances. While there are plenty of pre-made fragrance oils available, you can also experiment with essential oils or even create your own blends. Some popular scents for candles include lavender, peppermint, vanilla, and citrus. Just be sure to use the appropriate amount of fragrance oil based on the size of your candle and always test your scent before pouring it into your wax.
Adding decorative elements is another great way to customize your soy wax candles. You can add dried flowers or herbs directly into the melted wax before pouring it into your container for a natural look. Alternatively, you can place decorative items such as seashells or crystals on top of the hardened wax before lighting your candle for an extra touch of elegance.
Finally, creating custom labels is a fun way to personalize your soy wax candles even further. You can design labels using free online software such as Canva or Adobe Spark and print them out on label paper. This allows you to include information such as the name of your candle, its scent description, and any safety warnings.
In conclusion, making soy wax candles at home is a fun and rewarding DIY project that anyone can do. By following these tips for customization, you can create unique candles that reflect your personal style and preferences. Whether you're making them as gifts for friends and family or just for yourself, these handmade candles are sure to bring warmth and comfort into any space they inhabit.
Leave a comment