How To make Sand Candle With Beach Sand?

Have you ever thought of the the ingenious craft project with beach sand? If you happen to love your play time at the beach, you will love to make beach candles with this tutorial prepared by Ohcans Candle. If you love the smell or sea, you wish to take a bit of your memory of the sea back home, this is a simple and creative project you must try out.
The scent and smell of the ocean is different to each and everyone of us. As some may describe it as sweet and warm smell of coconut, while others on a rainy day may decribe it as a mixture of salt , seaweed, and iodine. The candle we make today will encapsulate the spirit and texture of the ocean.
Making candles out of sand was once a sensation and trend of the 1960s, and you may wonder what exactly is A Sand candle.
How Do You Make Candle Out Of Sand?
Making sand candles involves using pure beach sand as vessels and containters for holding your melted wax. The sand takes freeform shape of an object of your choice, patiently wait for wax to mold and solidify into a stunning candle. The object can be something your found from your kitchen cabinet or local craft stores. The possibility is truly endless. The crafting procedure involves puring wax into the sand mold. The sand mold exhabit a unique texture and appearance.
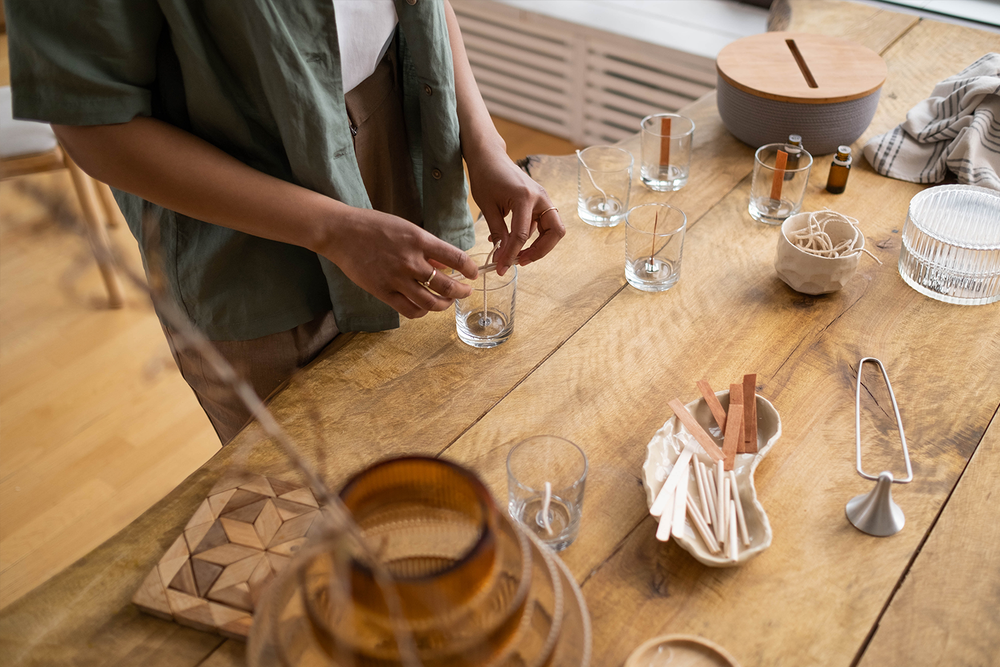
Step 1: Materials you will need:
- Wax of your choice, either non-toxic beeswax or soy wax makes excellent choice for crafting candles.
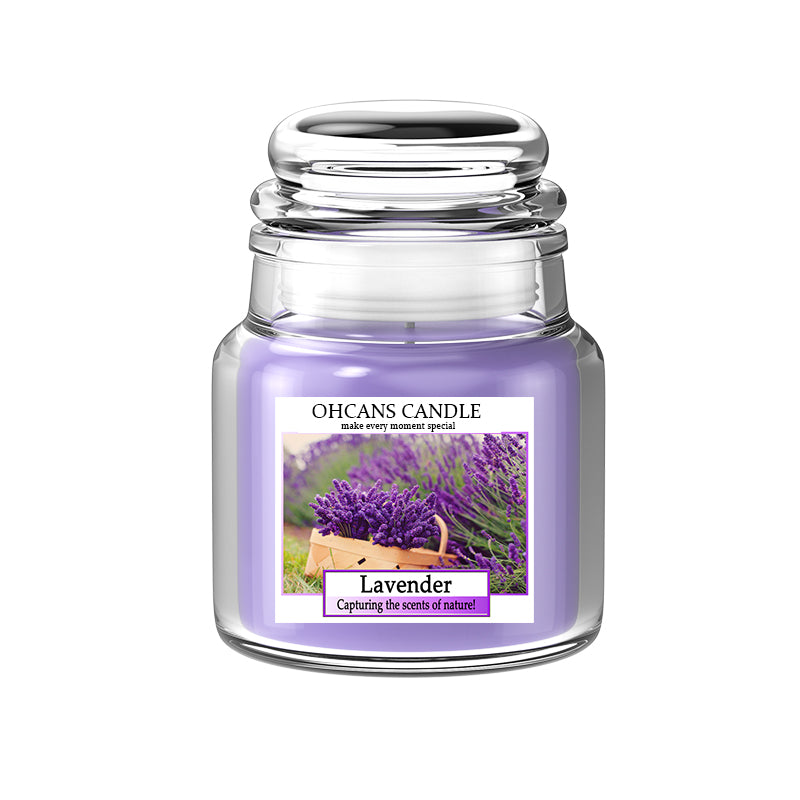
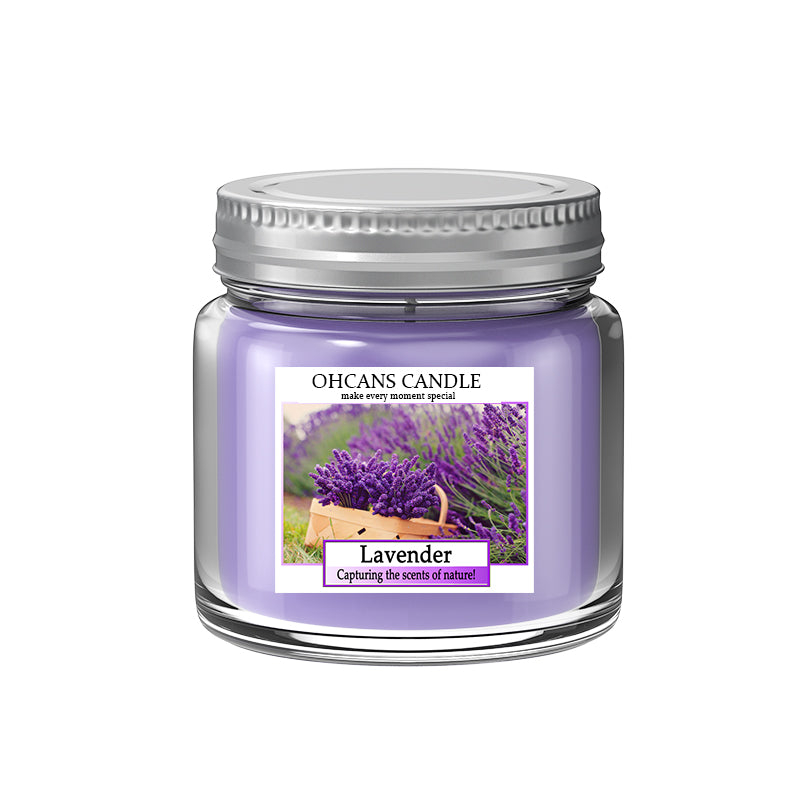
- Clean and Dry Beach Sand. You can purchase from craft store as as. For you information, Ohcans candle will lauch a Magic Sand for DIY candle crafters in the near future, so stay tuned.
- Dyes and Fragrances:It can be optional.If you want your candle to smell a certain way or a certain color, please include this in your cratfing process.
- Candle wicks: cotton wick and wooden wick are common choice. Please make sure that the wick size matches up with your candle wax.
- Double Boiler or sauce pan:for melting your wax properly.
- Objects to shape and mold your melted candle wax. It can be bowls, jars.
- Thermometer: For monitering the temperature.
- Newspaper: To cover your work space and preven it from spills.
- Plastic container or pail: Please choose one that is large enough for your mold.
- Paintbrush: To better brush off excess sand or potential deribs.
- A Stove: To better heat your melted wax

Step 2:Collecting Beach Sand
When you are collecting and selecting sand to make sand candles, you want to choose fine and powdery sand if you want the apperance of your candle to have a smooth finish. Pick a clean and dry area from the beach before you start digging. Next, scoop the sand and ensure the sand is free of debris, such as shells and rocks.
Ohcans candle reminds you to be eco-couscious when collecting sand. It is adviced that you will be reminded that sand is home to a diverse range of organisms such as insects, crustaceans, and birds. Thus, you should only collect what you need for your project. Sand plays an important role in preventing coastal erosions in our ecosystem.
Step 3:Melting Scenting and Coloring Your Wax
When melting your wax to make your desired candles, please always remember to read manufacter's direction and manual before you get started on your DIY projects.
You neeed to consider each unique characteristics of the wax you select. When selecting soy wax, it is very budget friendly eithcal and non toxic for the environment. On the other hand, beeswax candle has a natural honey scent attached to the candle. Since beeswax candle is minimally process, it is more natural and environmentally friendly. Then naturally color of beeswax is golden and yellow. While paraffin wax is easy to work with since it is mass produced in large quantity. There is a blog posts to learn more about candle making.

What Temperature Should You Handle Your Soy Wax?
By the way, if you choose to work with soy wax, There is a likelihood of fat bloom if not handled strickly whinin the temerpature range when cooling. As for soy wax, the optimal temperature for melting wax is 130 - 200 F, which means melting solid wax into liquid form. Later, when pouring, the optimal temperature is 120 - 165 F. Most importantly, when patiently waiting your candle to cool, ensuring the temperature is around 70 to 80 deg F and humidity in the range of 35 to 50%.This will save you from the worst case scenario of a fat bloom. Below is a picture illustrating the incident of fat bloom of beeswax:

Step 4: Turn Your Sand Candle Into Shape
It's time to roll up your sleeves and get your hands dirty. To make a sand candle mold, first, mix beach sand with water until it's damp enough to pack firmly,Then transfer this sandcastles you have created into bottom of the plastic container. Please make sure that you are creating a layer.Next,Gentelly mold around your object. Grab your bottle, jar, or other object with a hollow shape and place it on top of the layer of wet sand.Carefully pack the rest of the sand around the object, ensuring it remains upright. Leave enough of the object exposed so you can easily remove it later on.
Slowing and steadily, please remove the object from the sand mold. If your sand collapese in between, please do not get frastruted very eaily. This happens all the time.
Step 5: Trim Your Wick
To prepare the wick, cut it to the desired length, leaving a few extra inches. If using a wide object, use two wicks for an even burn. Dip the wick(s) into melted wax and let it dry to stiffen. Make a small hole in the sand mold where the wick will go. Secure the wick in place by adding hot glue or melted wax at the base and smoothing sand over it. Hold the wick upright until the glue hardens. Alternatively, use a wick tab or sticker for easier attachment. Make sure the wick is straight and centered for a balanced burn.
Step 6:Pouring The Wax
Make sure the wick is properly aligned in the center before pouring wax into the mold while being cautious not to pour too quickly to prevent sand dents.
If making more than one candle, it's recommended to heat the remaining wax between pours to keep it at the right temperature.
Let the candle cool undisturbed overnight to ensure it solidifies completely before carefully removing it from the mold.
Step 7:Removing Your New Candle
When you remove your sand candle, some loose sand and debris may fall off. So , with a gentle hand, please bush them off with a paint brush.

Frequently Asked Questions
How Do You Make Sand Art Candles?
Each sand art candle becomes a miniature masterpiece. It is a materpiece by hand. Unlike tranditional sand candles we made today, instead of using traditional sand as mold or vessels, sand art candles involve layering colorful sand within a container to create vibrant and unique designs. It originated from Jordan when trace back in history. Sand Art utilize the malleable nature of sand. It can form unique shapes without applying any extra adhension.

Candle Making Kits Options
Ohcans candle will be launched a Magic Creative Sand for DIY Candle lover in the near future. Please stay tuned. If you are looking to get strated on a candle making project, please check out our candle making kit.
Leave a comment