How To Make Mini Votive Candles?
As a DIY expert with over a decade of experience, I'm excited to share this easy tutorial for making mini votive candles. These cute little candles are perfect for adding a warm, cozy glow to any space. Mini votives Candles have become increasingly popular for their versatility - they can be used in votive holders, small jars, or even floated in bowls of water. Their small size also makes them ideal for gift-giving.
In this comprehensive guide, I'll walk you through selecting the perfect container, choosing ideal wax, creating custom scents, and safely pouring your candles. You don't need any special tools or skills to make professional-looking mini votives candles at home.
Making homemade candles is a fun and easy thing to do. These DIY candles make wonderful gifts, or can be saved for personal use and enjoyment. They are made with natural soy wax, using non-toxic colored crayons. There are also many colorful color combinations, and you can even make personalized candles by adding essential oil scents.

Materials You Will Need:
You will need
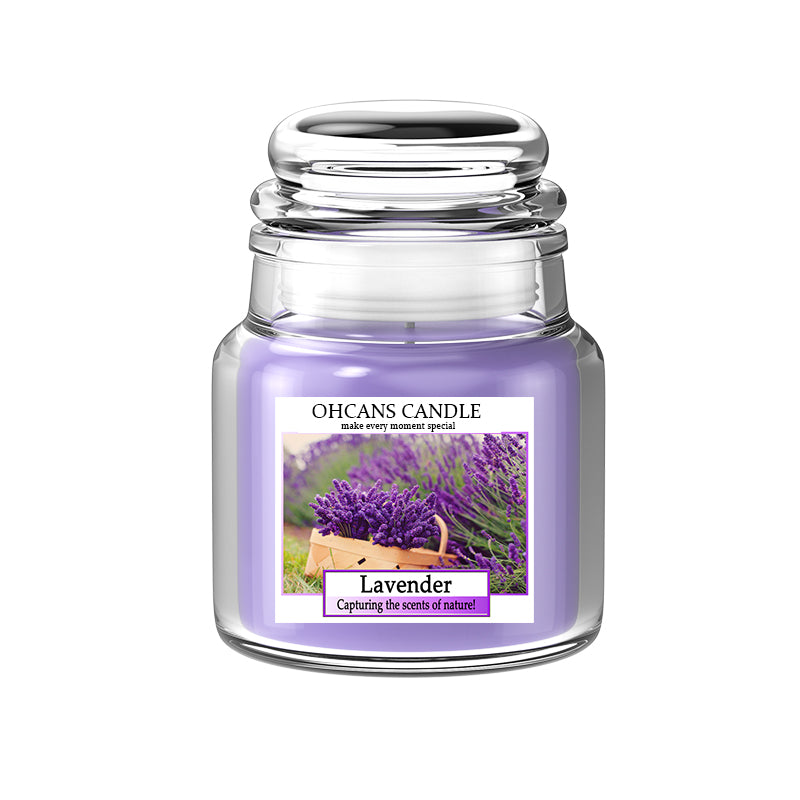
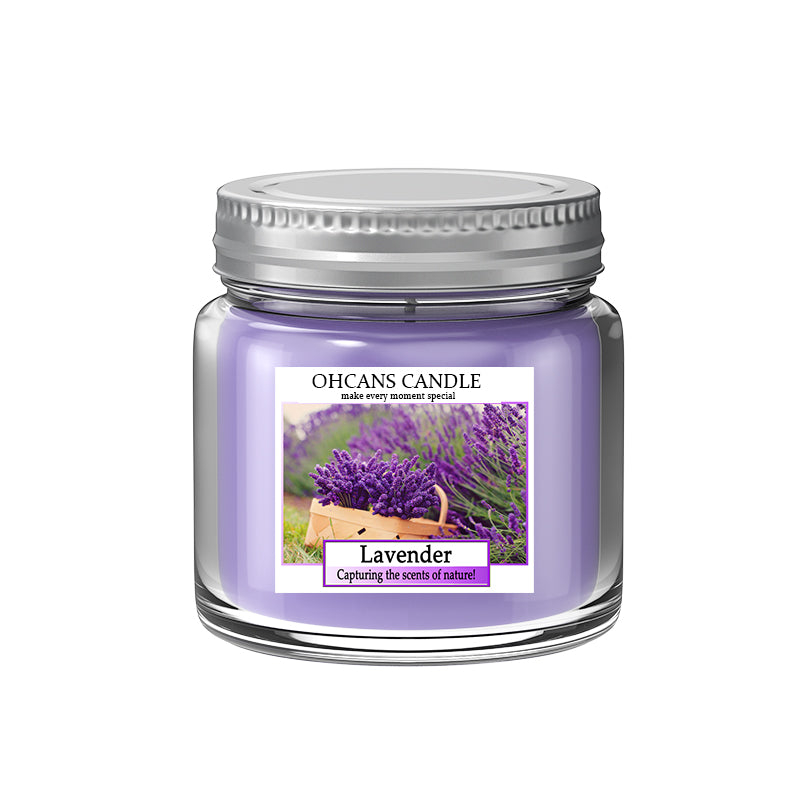
Small glass bottles You should have a dozen small glass bottles on hand.
5 lbs. of Soy Wax .Soy wax is an inexpensive and easy to handle natural wax.
Wick, you can choose either cotton wick or wooden wick.
Box of non-toxic crayons Non-toxic crayons have great colorants because they come in a variety of colors that can be mixed and matched. They are also already waxed, so you can go straight into the wax melt without having to worry about diluting it.
Various Fragrances You can add essential oils to give the candles a variety of pleasing scents.
Glass Measuring Cups You'll want a new glass measuring cup just for candles. Because wax is hard to clean up.
3.Quart Sauce Pan While you can use a regular sauce pan, I highly recommend getting one specifically for candle making!
Cooking Candy Thermometer The last thing you need is a candy thermometer to rise to at least 200 degrees.

Procedures For Making Mini Votive Candles
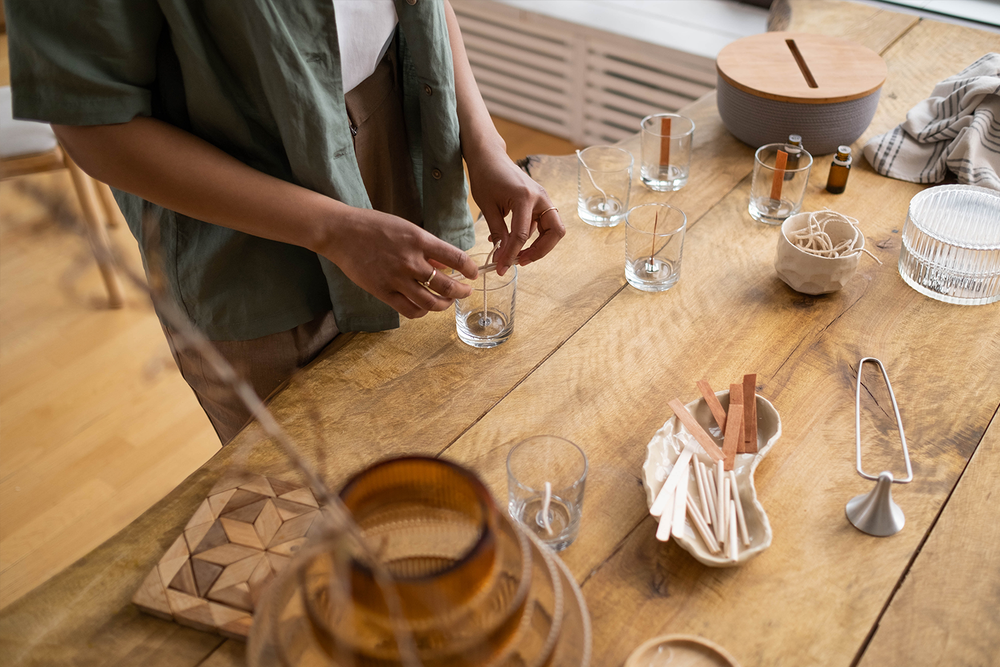
1.First, you'll want to prepare all the empty jars for placement. You don't want to have to free up your hands to place the wicks while you're busy with the candles, so you can place the wicks upright in the center of the jars and secure them with clothespins, then set them aside.
2.Coloring
Pick your favorite color crayon and cut off a small amount to use as a stain.

3.Melt the wax:Add wax chunks or wax melts to your melting container. Add the amount needed for your candle project.Place the melting container into the simmering water bath. Be sure the bottom does not touch the water.Allow the wax to completely melt, stirring occasionally with a long handled spoon.

4.Add Color: When adding your dye Optimal temp is usually below 185°F.As a firtst time candle maker, you can test for dye bleeding in your wax type.


5.Add flavorings like essential oils.

Important Tips For Adding Essential Oils
ordinary essential oils are too volatile, you must read the manual first and be aware of the flashpoint of essential oils and even burn through the container of the safety risk! Therefore, it is not naturally suitable for most candle styles, and must be effectively keep in mind before use.
If you want to make scented candles, you can try adding 10 drops of essential oils to the mix.
Avoid citrus oils that is too volatile.
Those who like citrusy fresh scents such as Sweet Orange and Sandalwood to help with meditation, it's actually more recommended to dilute and apply the essential oils to the person instead of dropping them into the candle, especially be careful.
The most important thing is: add the proportion of 5-7% of the wax amount. If you want an obvious scent.

6.Wait 4 to 6 hours for the wax to fully set and harden.

Here are some key tips to keep in mind when you want candles to properly cure.
- Cool your candle at typical room temp, around 60-72°F. If the temperature changes too drastically can cause crack in your candle.
- Allow Air flow:Do not cover or tightly lid candles immediately after pouring. This allows wax to release heat and prevents condensation build up.
7.Enjoy You Candle and Wait For Curing. Curing is an important procedure because it improves the overall quality and experience of the candle. The real secret behind is that curing allows the fragrance oils to fully absorb into the wax which will result in a stronger and longer-lasting scent throw.

Ohcans Candle Is Sending Out Invitation On Pinterest and Facebook
If you become our fans on instagram and pinterest , you will receive free candles and free candle making ebook in return. It is our free gift for fans.
Leave a comment