DIY Aromatheraphy Candles
Scented candles, the beginning of a beautiful home!
The materials for making candles are easy to get (you can buy the complete kit from a certain treasure) and the steps are simple. In the process of making candles, we can fully utilize our creativity.

Candle Supplies You Will Need
Boiling Wax Cooking Pot .................. One
Soybean wax .................. A moderate amount
Candle wicks..................... Adequate amount
Essential oil ............... Suitable amount
Dried flowers ...................... suitable amount
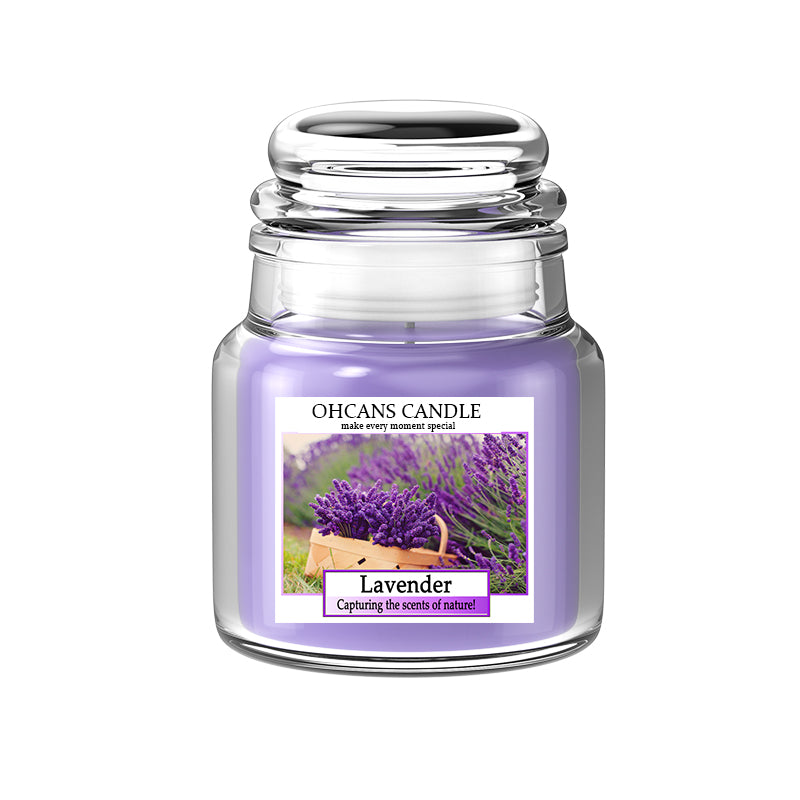
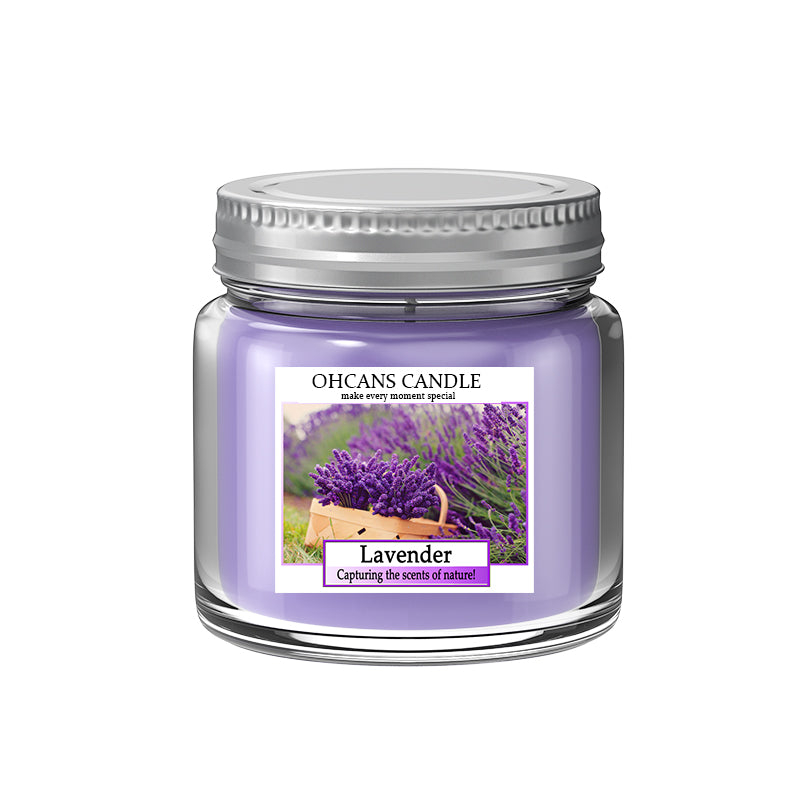
Candle cup .................. suitable amount
Here Is The Step By Step Tutorials On How To Make It?
1. Pour the soy wax into the wax cooking pot as shown below.

2. Heating soybean wax under water. This is also known as the traditional double boiler method where you melt the wax over a pot of hot water.

3.until the soy wax is completely melted.

4.Remeber to add drops of your favorite essential oils, according to your own preferences with flavor. My personal favourite has always been mint.

5.Remove the wax cooking pot and pour into separate containers that you have prepared.

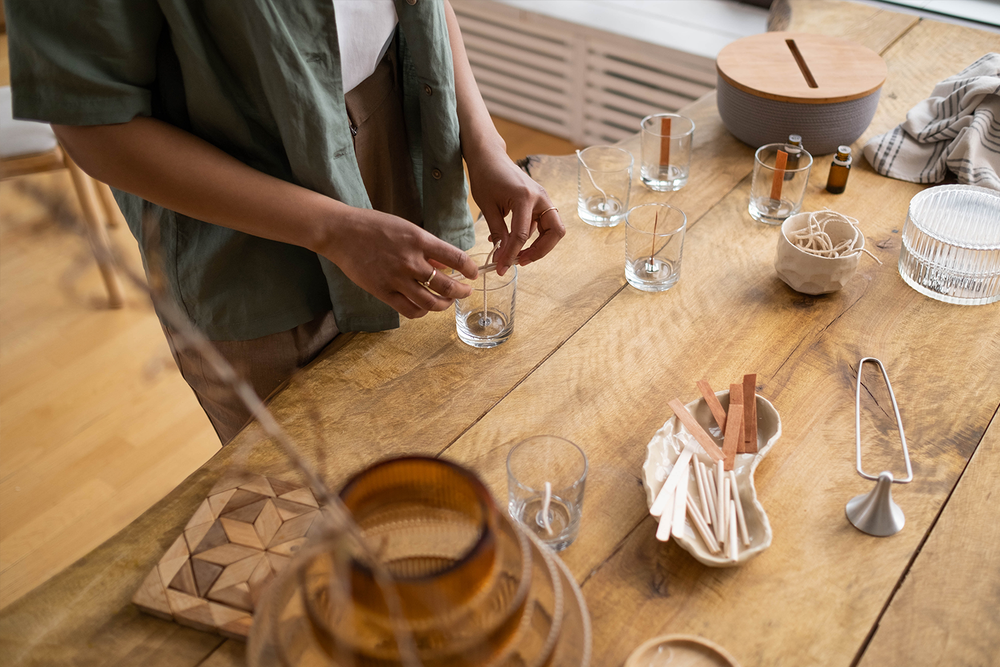
6.Put the candle wick into the container and use chopsticks to fix the wick. During this step, you can add a few drops of essential oil if you feel the scent is not enough.*During this step, you would want to ensure that the wick is centered and balaced.

7.During this time, you want to be patient to wait for the wax to solidify. Until the candle becomes a solid form, you can start to sprinkle petals or small flowers. This step to be able to give full play to their own little creativity.

8.Allow the surface of the candle liquid to solidify and you can start arranging the flowers. You can sprinkle the top with dried herbs or flower petals.

Frequently Asked Questions About Candles
1.Factors Affecting The Price Of Candles
- Materials - The wax, wicks, oils, and jars used impact cost. Natural beeswax, soy wax, pure essential oils, and high-quality jars cost more than synthetic alternatives.
- Labor - Handmaking candles takes time and skill, versus mass machine production. Labor costs are higher for hand-poured, custom candles.
- Size - In general, larger candles require more wax and bigger jars, driving up prices compared to smaller candles.
- Complexity - Intricate candle designs, multiple scent layers, and custom labeling is more complex and pricier.
- Branding - An established brand identity or reputation for quality allows a company to demand higher pricing.
- Location - Labor and real estate in some regions is more expensive, increasing overhead costs.
- Shipping - Cross-country or international shipping can add substantially to candle pricing.
- Market Position - Luxury and specialty candle makers can charge premium pricing based on positioning.
- Profit Margin - The profit margin a company builds into pricing impacts end costs to consumers.
Considering these key factors, it makes sense why an artisanal, hand-poured beeswax candle in a large engraved glass vessel with intricate designs and luxe packaging from a renowned brand would demand a very high price point. The raw goods, complexity, branding, and profit margin all play a role.
2.How should you determine the amount of essential oils to use? Especially, when you are a beginner candle maker, you are making candles for the first time.
Here are some tips for beginner candle makers on determining how much essential oil to use:
- Start low - It's better to add too little at first rather than too much. Begin with about 0.5-1% fragrance oil by weight of the wax as a starting point.
- Consider wax type - Natural waxes like soy and beeswax need more oil than paraffin to get strong scents. Aim for 1-3% for natural waxes.
- Test different percentages - Make small test candles with varying amounts, like 0.5%, 1%, 2%, to compare performance.
- Follow manufacturer recommendations - Reputable essential oil companies provide usage rate guidelines. Stay within their limits.
- Note flashpoints - Higher flashpoint oils are safer options for novice candle makers. Look for over 170°F flashpoints.
- Avoid skin irritation - Research which oils may cause sensitivity and use sparingly. Do skin tests too.
- Check throw - Once cured, burn test candles to assess scent throw at different oil amounts and adjust as needed.
- Keep records - Document the oil types, amounts, and performance results in each candle to optimize future blends.
With trial and error, beginner candle makers can learn how much essential oil to use for desired scent intensity. Start low, increment slowly, and keep careful notes. This helps build skill in blending perfectly scented candles safely.
3.Why does my candle collapes in the middle after I finish making it.
There are a few potential reasons why a candle might collapse or sink in the middle after being made:
- Cooling too quickly - If the candle cools rapidly, the outer wax may harden faster than the inner wax, causing the center to sink as the inner wax contracts. Slow controlled cooling prevents this.
- Pouring at too high a temperature - Adding fragrance oil lowers the wax's melting point. If poured too hot, the wax can collapse as it cools and contracts. Pour temperatures around 100-135°F are best.
- Wick issues - If the wick is too small for the candle diameter, the melt pool can become too deep and wide, creating a divot. Use an appropriately sized wick.
- Drafts or low humidity - Cool drafts or dry air can accelerate uneven cooling and sinking. Cure candles in a draft-free room with moderate humidity.
- Ratio issues - Too much fragrance or additives like dye or glitter may make the wax more prone to collapsing. Keep them within recommended ratios.
- Improper wick centering - If the wick isn't centered perfectly in the vessel, uneven melting around the wick can occur, sinking the middle.
Preventing too-fast cooling, controlling pour temperatures, and properly formulating the wax are key steps to avoid candle sinkage and achieve an even topside and burn pool.
Leave a comment